Please keep in mind that you can ONLY create new templates and edit templates while on the DESKTOP version of the Hitched CRM System (app.hitched.us) . You are able to USE the templates you've created on your mobile app, you just cannot create new templates on the mobile app.
Here is how to create your own text & email templates:
- Go to the Hitched CRM System on your computer
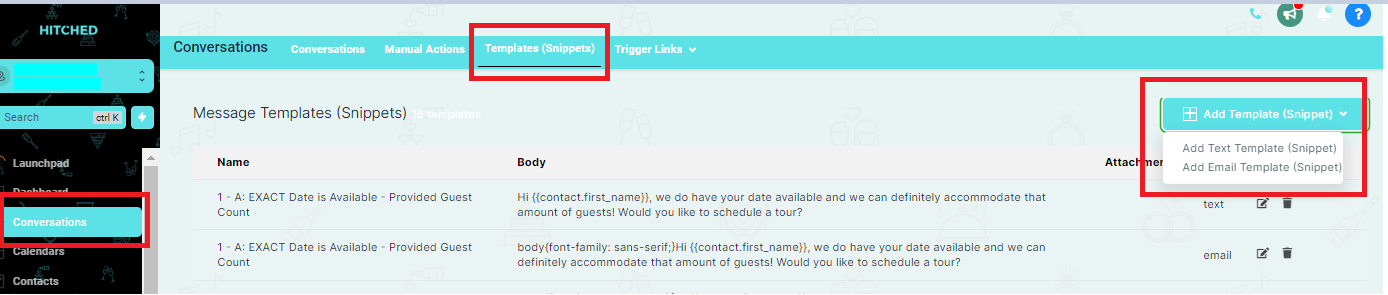
- Go to conversations
- Select the tab titled "Templates"
- Select Add Template
- Create a new text or email template
Here is how to edit pre-existing text & email templates:
- Go to the Hitched CRM System on your computer
- Go to conversations
- Select the tab titled "Templates"
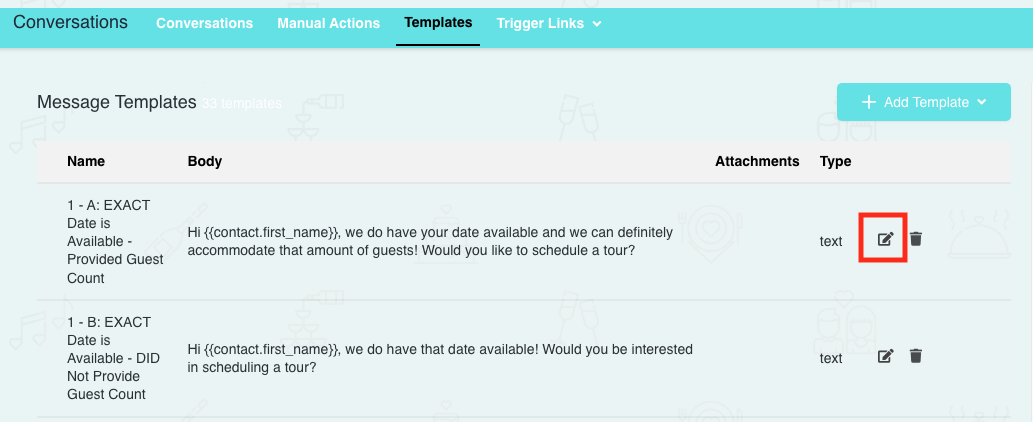
- Find the template that you would like to edit
- Click the Edit button (Pencil Icon) to the right of the template
- Edit the template to your liking >> Click Save