Main Purpose
Simply put, tags are used to classify certain clients into different categories.
Action Tags:
There are certain tags that are automatically added to a client when certain things are done within the system. For example, you will see the tag "tour" appear when a client tour is scheduled, "dnd" when you place a client on DND, "linked clicked" when the client opens the initial pricing pamphlet, or "tour survey" when the client fills out the tour survey. These are used for the back-end of the system and also so that you can easily view where a client might stand in the sales process just by looking at their tags.
We have also created one manual tag that triggers our system to take a particular action. When added, the "Not Yet Ready" tag changes the client's Pipeline stage and takes them out of automated campaigns so that we can manually follow up with them at a later date.
Custom Tags:
Examples for custom tags are "mom", "groom", or the client's proposed wedding year "2023". These are all tags that you would create yourself and do not trigger anything to happen automatically within the system. See below on how to create custom tags.
This means that we can later sort through your contacts and send a bulk email or text to a particular type of client.
Please keep in mind that this tagging feature is exclusively used to CLASSIFY a client, NOT to write specific notes about the client. Things about the date they are looking for, their fiancé's name, etc. is to be written and stored under the NOTES section of the contact.
Creating a New Custom Tag
For the Desktop version:
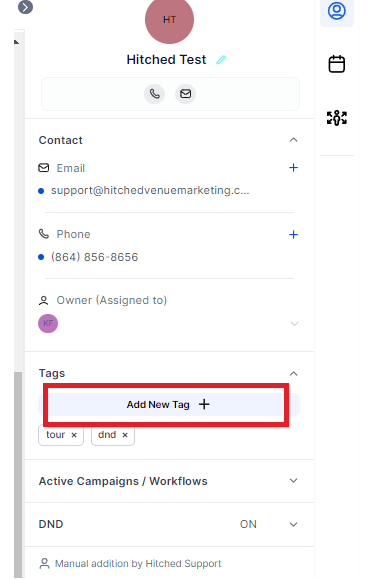
To add a tag, there are two ways to do this:
In the Conversation tab:
On the right side of the conversation tab, click the Add New Tag + section >> type the tag that you wanted to add >> click the + sign
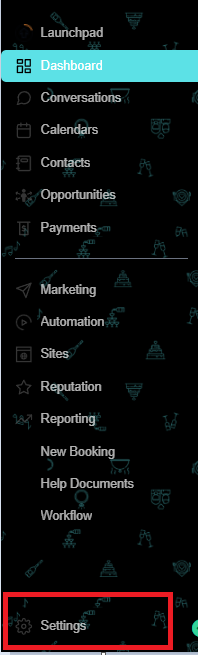
In Settings:
Go to Settings >>scroll down Click Tag >> Create New Tag >> Type the tag that you wanted to add >> Click Add

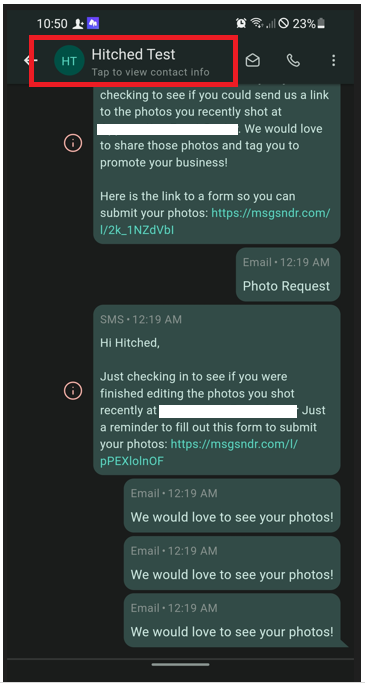
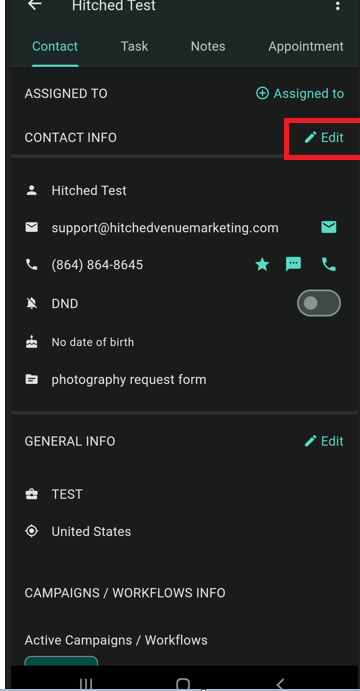
In Mobile Version:
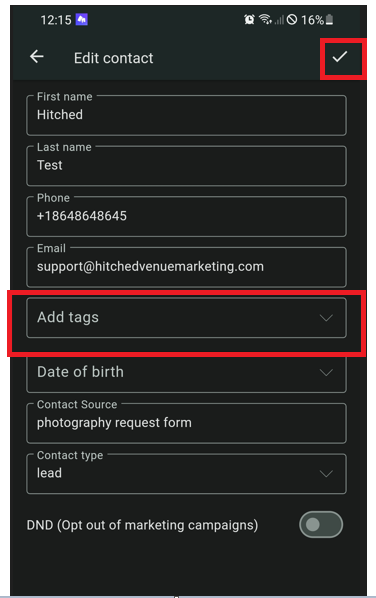
After tapping the name of the contact on top of your screen, click Edit then locate Add Tags.
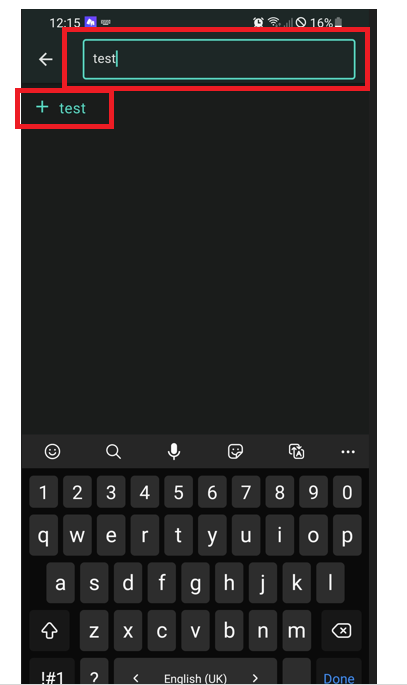
Type the tag that you wanted to add, click the + icon then the check mark to save.